Healthier Homemade Baked Sweet and Sour Chicken Recipe
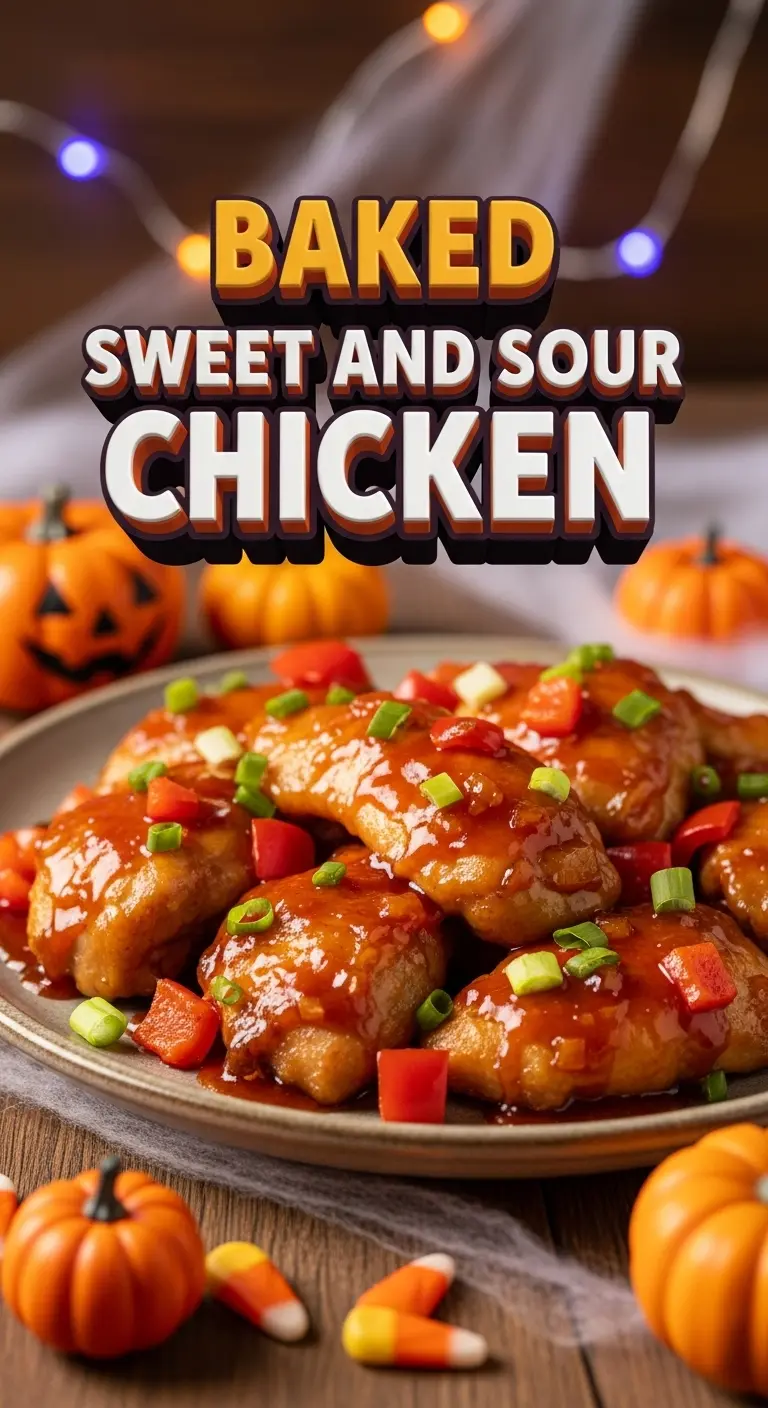
Baked Sweet and Sour Chicken is a delicious balance of tangy, sweet, and savory flavors, featuring tender chicken pieces coated in a light, crispy layer and baked to golden perfection. Each bite is glazed in a vibrant, glossy sauce that’s both comforting and irresistible. This dish captures all the flavors of your favorite takeout but with a healthier, homemade twist.
The first time I made this recipe, I was surprised by how easy it was to recreate that classic restaurant taste at home. The sauce, a blend of ketchup, vinegar, soy sauce, and sugar, thickens beautifully as it bakes, creating a caramelized finish that clings to every bite. Best of all, the chicken stays juicy inside while crisping up outside—no deep frying needed!
Perfect for busy weeknights or family dinners, Baked Sweet and Sour Chicken pairs perfectly with rice or veggies. It’s crowd-friendly, easy to prep ahead, and guaranteed to satisfy any craving for bold, comforting flavors.
Also Try: Maple Glazed Salmon Recipe
Perfect for
- Family dinners
- Easy meal prep
- Takeout-style nights at home
- Potlucks or gatherings
- Fans of tangy, saucy dishes
Why You’ll Love This Recipe
Healthier than Takeout: Baking instead of frying keeps it lighter while maintaining crispiness.
Homemade Sauce: Made from simple pantry ingredients for fresh, authentic flavor.
Perfect Texture: Juicy chicken with a crispy exterior and sticky, caramelized coating.
Versatile: Add vegetables or pineapple for a colorful twist.
Family Favorite: Sweet and tangy flavors kids and adults both love.
Preparation and Cooking Time
Total Time: 1 hour
Prep Time: 15 minutes
Cook Time: 45 minutes
Servings: 4
Calories: 350–400 per serving
Key Nutrients: Protein 30g | Carbs 35g | Fat 10g
Ingredients
For the Chicken
- 1½ lbs boneless, skinless chicken breasts, cut into 1-inch cubes
- 2 large eggs
- 1 cup cornstarch
- 2 tbsp vegetable oil (for greasing)
- Salt and pepper to taste
For the Sweet and Sour Sauce
- ½ cup granulated sugar
- ¼ cup white vinegar
- ¼ cup ketchup
- 3 tbsp soy sauce
- 1 tbsp cornstarch (optional, for thickness)
- ½ tsp garlic powder
- ½ tsp ginger powder (optional)
Ingredient Highlights
Chicken Breasts: Lean, tender, and easy to bake; thighs can be used for extra juiciness.
Cornstarch: Gives the chicken a light, crispy coating without frying.
Ketchup: Adds tang and color to the sauce.
Vinegar: Provides the perfect tangy contrast to the sweetness.
Soy Sauce: Deepens the flavor with savory umami notes.
Step-by-Step Instructions
1. Prepare the Chicken
Preheat oven to 375°F (190°C). Grease a large baking dish with oil. Season chicken pieces with salt and pepper. Dip each piece first in cornstarch, then in beaten eggs, coating evenly. Arrange in a single layer on the prepared dish.
2. Bake the Chicken
Bake for 25–30 minutes, flipping halfway through, until the coating is crispy and the chicken is cooked through.
3. Make the Sweet and Sour Sauce
In a saucepan, whisk together sugar, vinegar, ketchup, soy sauce, garlic powder, and ginger powder. If thickening, dissolve cornstarch in a bit of water before adding. Simmer over medium heat, stirring until the sauce is glossy and slightly thickened.
4. Combine and Bake Again
Transfer baked chicken to a bowl, pour the sauce over, and toss to coat evenly. Return to the oven for 10–15 minutes to caramelize the sauce.
5. Serve
Garnish with sesame seeds or green onions and serve hot.
How to Serve
- With Steamed Rice: Classic and comforting.
- With Stir-Fried Veggies: Add color and crunch.
- As a Rice Bowl: Layer with rice, chicken, and sauce.
- With Fried Rice or Noodles: For a takeout-style dinner.
- As an Appetizer: Serve with toothpicks for parties.
Additional Tips
- Don’t overcrowd the baking pan for even crisping.
- Double the sauce if you like extra to drizzle over rice.
- Reduce sugar for a tangier version.
- Use fresh ginger and garlic for bold flavor.
- Add chili flakes or sriracha for heat.
Recipe Variations
With Pineapple: Add pineapple chunks for tropical sweetness.
With Vegetables: Toss in bell peppers, onions, or carrots.
Gluten-Free: Use gluten-free soy sauce and cornstarch.
Low-Sugar: Substitute sugar with honey or stevia.
Air Fryer Method: Air fry the coated chicken for 12–15 minutes at 380°F.
Shrimp Version: Swap chicken for shrimp.
Tofu Option: Use baked tofu for a vegetarian twist.
Orange Flavor: Replace vinegar with orange juice.
Cashew Topping: Add roasted cashews for crunch.
Mango Twist: Mix in pureed mango and chili for a fruity, spicy glaze.
Storage and Freezing
Refrigerate: Store leftovers for up to 3 days in an airtight container.
Reheat: Warm in the oven or on the stovetop until heated through.
Freeze: Freeze cooked and sauced chicken for up to 2 months. Thaw overnight before reheating.
Special Equipment
- Large baking dish or sheet
- Mixing bowls
- Whisk for the sauce
- Tongs for flipping
- Heatproof spatula for tossing
FAQ
Can I make it ahead?
Yes! Bake the chicken and prepare the sauce, then combine and bake again before serving.
Can I use chicken thighs?
Yes, thighs stay extra juicy and flavorful.
Can I make it spicy?
Add chili paste or sriracha for a fiery twist.
Can I use store-bought sauce?
You can, but homemade tastes fresher and more balanced.
Can I skip the cornstarch?
You can, but you’ll lose some crispiness.
Conclusion Baked Sweet and Sour Chicken
Baked Sweet and Sour Chicken combines crispy, golden-baked chicken with a glossy, tangy-sweet sauce for the ultimate comfort meal. It’s a healthier take on classic takeout, easy to make, and bursting with flavor in every bite.
The contrast of textures and flavors—the crunch of the coating, the tenderness of the chicken, and the sticky caramelized sauce—makes it an instant favorite. Whether you’re cooking for family, entertaining guests, or simply craving something satisfying, this recipe always delivers.
Once you try it, it’s sure to earn a permanent spot in your weeknight rotation. Enjoy this delicious homemade favorite and don’t forget to share your creation—I’d love to see how you make it your own!