
How to Paint Kitchen Cabinets: 10 Easy Tips for a Smooth Finish
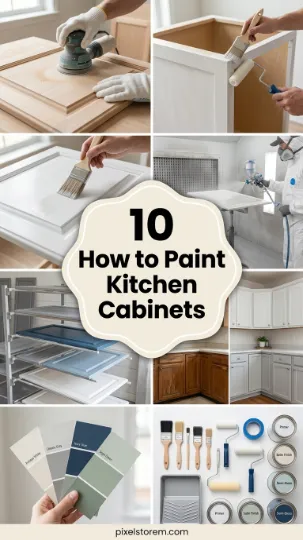
Refreshing your kitchen doesn’t always require a full renovation. One of the most impactful and cost-effective ways to transform your kitchen is by painting the cabinets. A fresh coat of paint can modernize the space, update the color palette, and give your kitchen a whole new vibe. Whether your style is modern, farmhouse, or minimalist, painting your cabinets can dramatically improve the overall look of your kitchen.
In this guide, we’ll walk you through 10 essential steps and tips on how to paint kitchen cabinets, from preparation to finishing touches, ensuring a professional, long-lasting result.
1. Choose the Right Paint
Selecting the right paint is crucial for durable, long-lasting cabinets. For kitchens, choose a paint that resists moisture, scratches, and stains. Semi-gloss and satin finishes are popular because they are easy to clean and offer a subtle sheen.
Tip: Acrylic or latex paint works well for most cabinets, while oil-based paint provides a smooth, durable finish for wood surfaces.
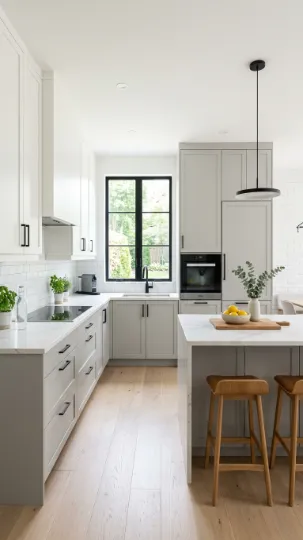
Design Idea: Soft grey or white painted cabinets with a satin finish can brighten the kitchen and pair beautifully with modern hardware.
2. Remove Cabinet Doors and Hardware
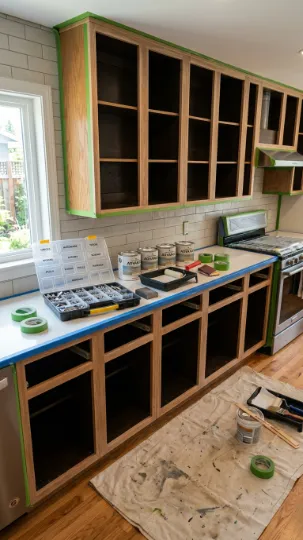
For the cleanest results, remove all cabinet doors, drawers, handles, and hinges before painting. This allows you to reach every surface and prevents drips or missed spots.
Tip: Take photos and label each door and hinge to make reassembly easier later.
Design Idea: Numbering the doors and drawers helps you keep track and ensures they return to their original location after painting.
3. Clean and Degrease
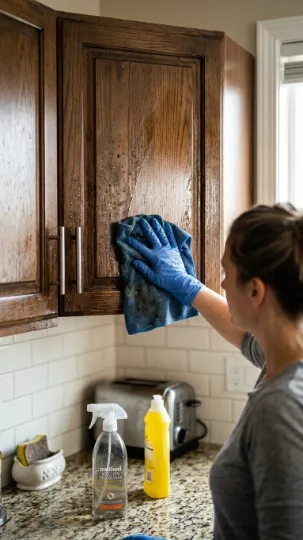
Kitchen cabinets accumulate grease, dirt, and dust, which can prevent paint from adhering properly. Use a degreasing cleaner to thoroughly clean all surfaces before sanding.
Tip: Avoid household soap; choose a cleaner specifically designed for degreasing kitchen surfaces.
Design Idea: Wipe down cabinets with a degreaser and a microfiber cloth to remove all residues, ensuring a smooth painting surface.
4. Sand for Smoothness
Sanding is key to creating a smooth surface for paint adhesion. Lightly sand all cabinet surfaces using fine-grit sandpaper. This also helps remove any existing gloss from previous finishes.
Tip: For a professional finish, sand in the direction of the wood grain. Wipe down surfaces with a damp cloth afterward to remove dust.
Design Idea: Sanding ensures that your cabinets’ paint will adhere evenly and prevent peeling over time.
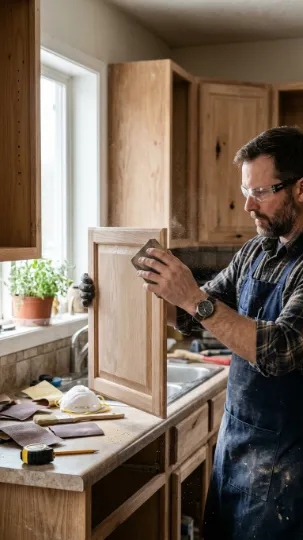
5. Apply Primer
Priming your cabinets before painting improves adhesion, prevents stains from bleeding through, and enhances paint durability. Use a high-quality primer suitable for wood or laminate surfaces.
Tip: Use a brush for corners and a roller for flat surfaces to avoid streaks.
Design Idea: A grey primer under white or pastel paint ensures a smooth and professional finish on both wood and laminate cabinets.
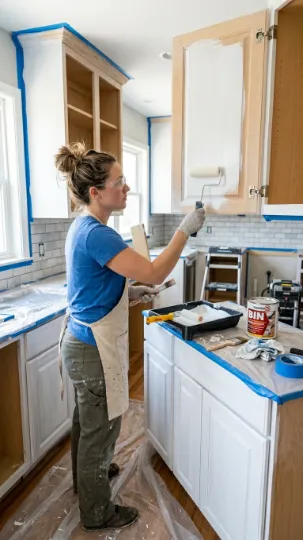
6. Choose the Right Tools
Using the proper brushes and rollers is essential for achieving a smooth, streak-free finish. Foam rollers are ideal for flat surfaces, while angled brushes work well for corners and detailing.
Tip: Avoid using bristle brushes for large flat areas, as they can leave marks.
Design Idea: A combination of foam rollers for doors and high-quality angled brushes for edges ensures even coverage and a professional look.
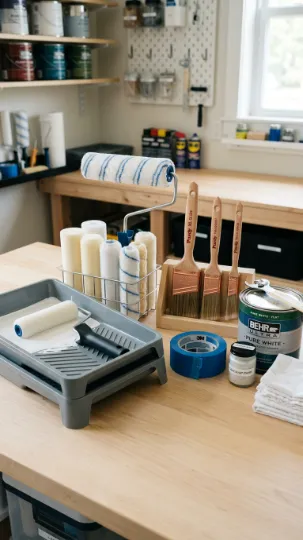
7. Painting Techniques
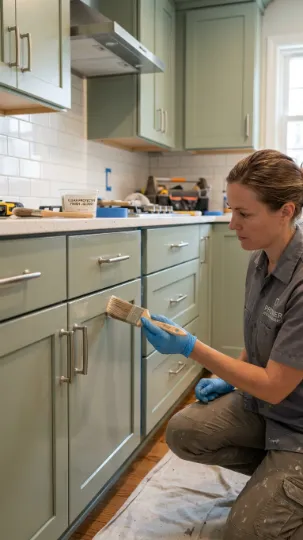
For an even coat, start with the cabinet frame and then move to the doors and drawers. Apply paint in thin, even layers, and allow adequate drying time between coats. Two or three coats may be necessary depending on the color change.
Tip: Always paint in the direction of the wood grain or cabinet lines to avoid brush marks.
Design Idea: Soft grey cabinets with two coats of satin paint create a modern, elegant look while hiding imperfections.
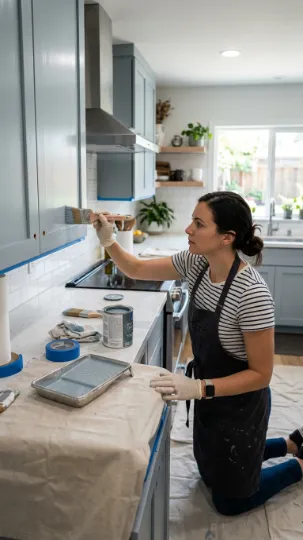
8. Add a Protective Topcoat
A protective topcoat is essential to increase durability and prevent scratches or stains. Polyurethane or a water-based clear coat works well for painted cabinets.
Tip: Choose a clear coat with a matte or satin finish to match your paint sheen. Avoid high-gloss unless you want a very shiny modern look.
Design Idea: A satin polyurethane topcoat over white painted cabinets enhances durability and gives a professional, polished finish.
9. Reattach Hardware and Doors
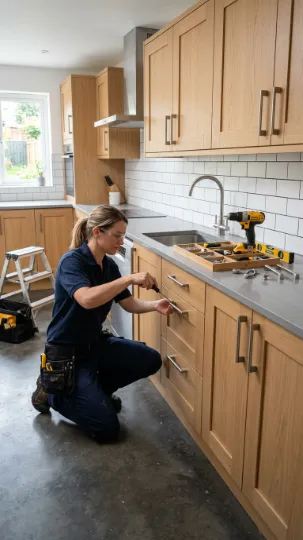
Once the paint has fully cured, reattach all cabinet doors, drawers, and hardware. Use new knobs, pulls, or hinges if desired to further update the kitchen’s style.
Tip: Make sure all screws are tightened and doors are aligned for a seamless look.
Design Idea: Black or brushed gold hardware on white or grey cabinets adds a stylish, contemporary touch.
10. Maintain and Care for Painted Cabinets
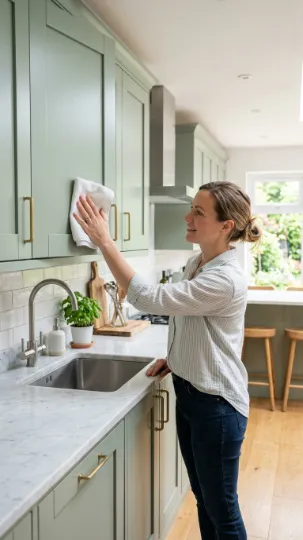
To keep your newly painted cabinets looking fresh, clean them regularly with a soft cloth and mild detergent. Avoid abrasive cleaners or scrubbers that can damage the paint finish.
Tip: Wipe up spills immediately and use gentle cleaners to maintain the cabinet’s professional look.
Design Idea: Routine care ensures your painted cabinets stay vibrant and durable for years, extending the life of your kitchen makeover.
Final Thoughts
Painting your kitchen cabinets is one of the most cost-effective ways to transform your kitchen without a full renovation. With careful preparation, the right tools, and attention to detail, even small kitchen upgrades can have a dramatic impact.
From choosing the perfect paint and primer to sanding, painting, and finishing with protective coats, these 10 steps will guide you in achieving professional-looking results. A freshly painted kitchen can refresh the entire space, adding elegance, style, and a personal touch to your home.
Whether you prefer a classic white kitchen, bold colors, or soft neutrals, painting your cabinets allows for endless creativity while improving functionality and aesthetic appeal. With these tips, your kitchen can feel brand new, stylish, and inviting.